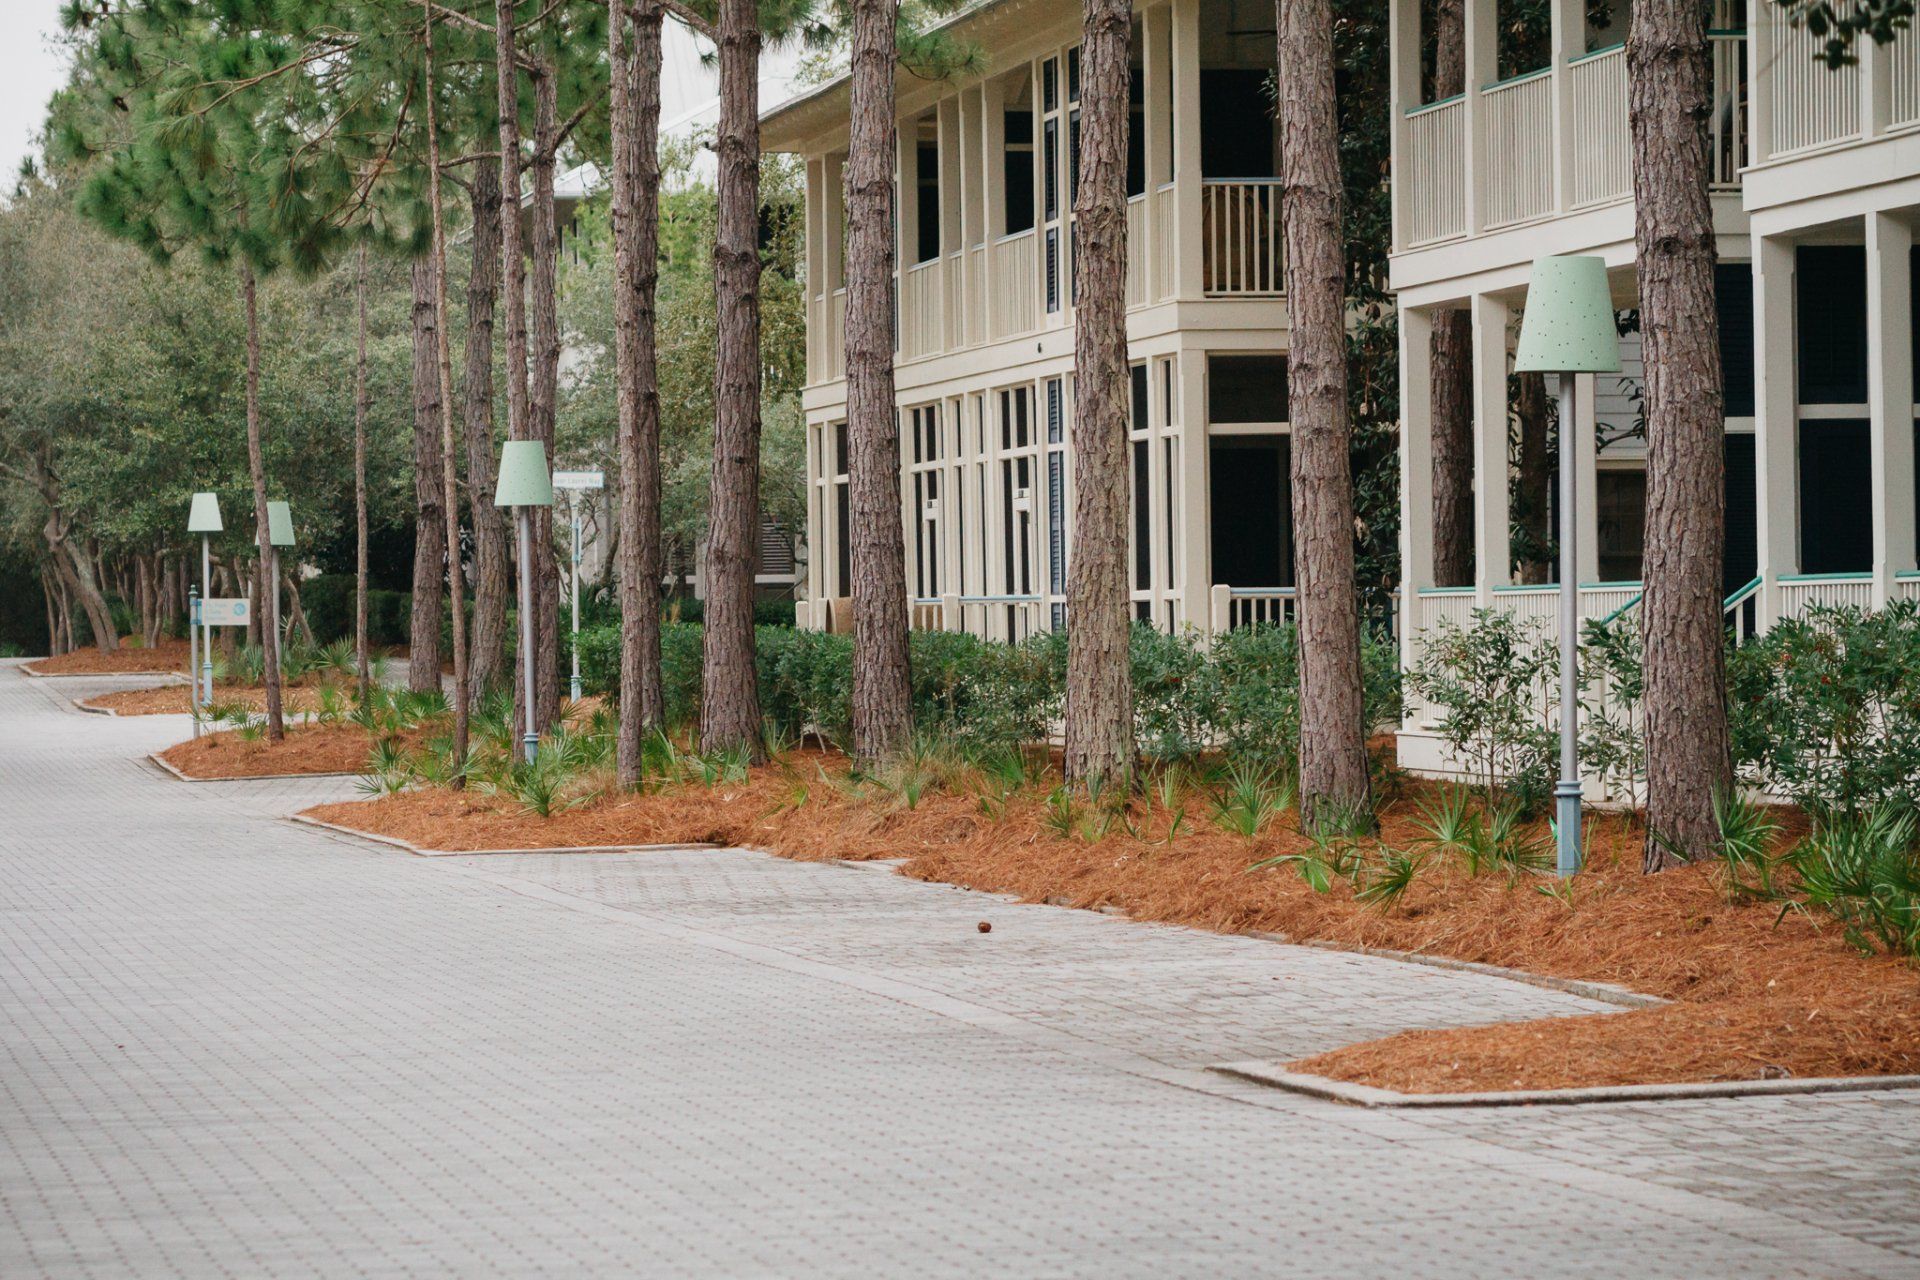
Pine Straw Mulch: Perfect for Texas Gardens

Hi there! I’m Jessica Read, co-owner of Pine Straw Direct. Life as a mom and business owner in Texas means I’m all about practical, affordable, and sustainable choices for my home and yard. One of my favorite landscaping solutions? Pine straw mulch. Not only is it fantastic for our Southern climate, but it’s also a simple way to create a beautiful outdoor space. Today, I’m excited to share some tips on installing pine straw mulch, along with a video of an installation we recently completed for a local non-profit. Whether you’re a seasoned gardener or new to landscaping, these tips will help you create a vibrant, healthy outdoor space.
Why Pine Straw Mulch is My Top Choice for Texas Gardens
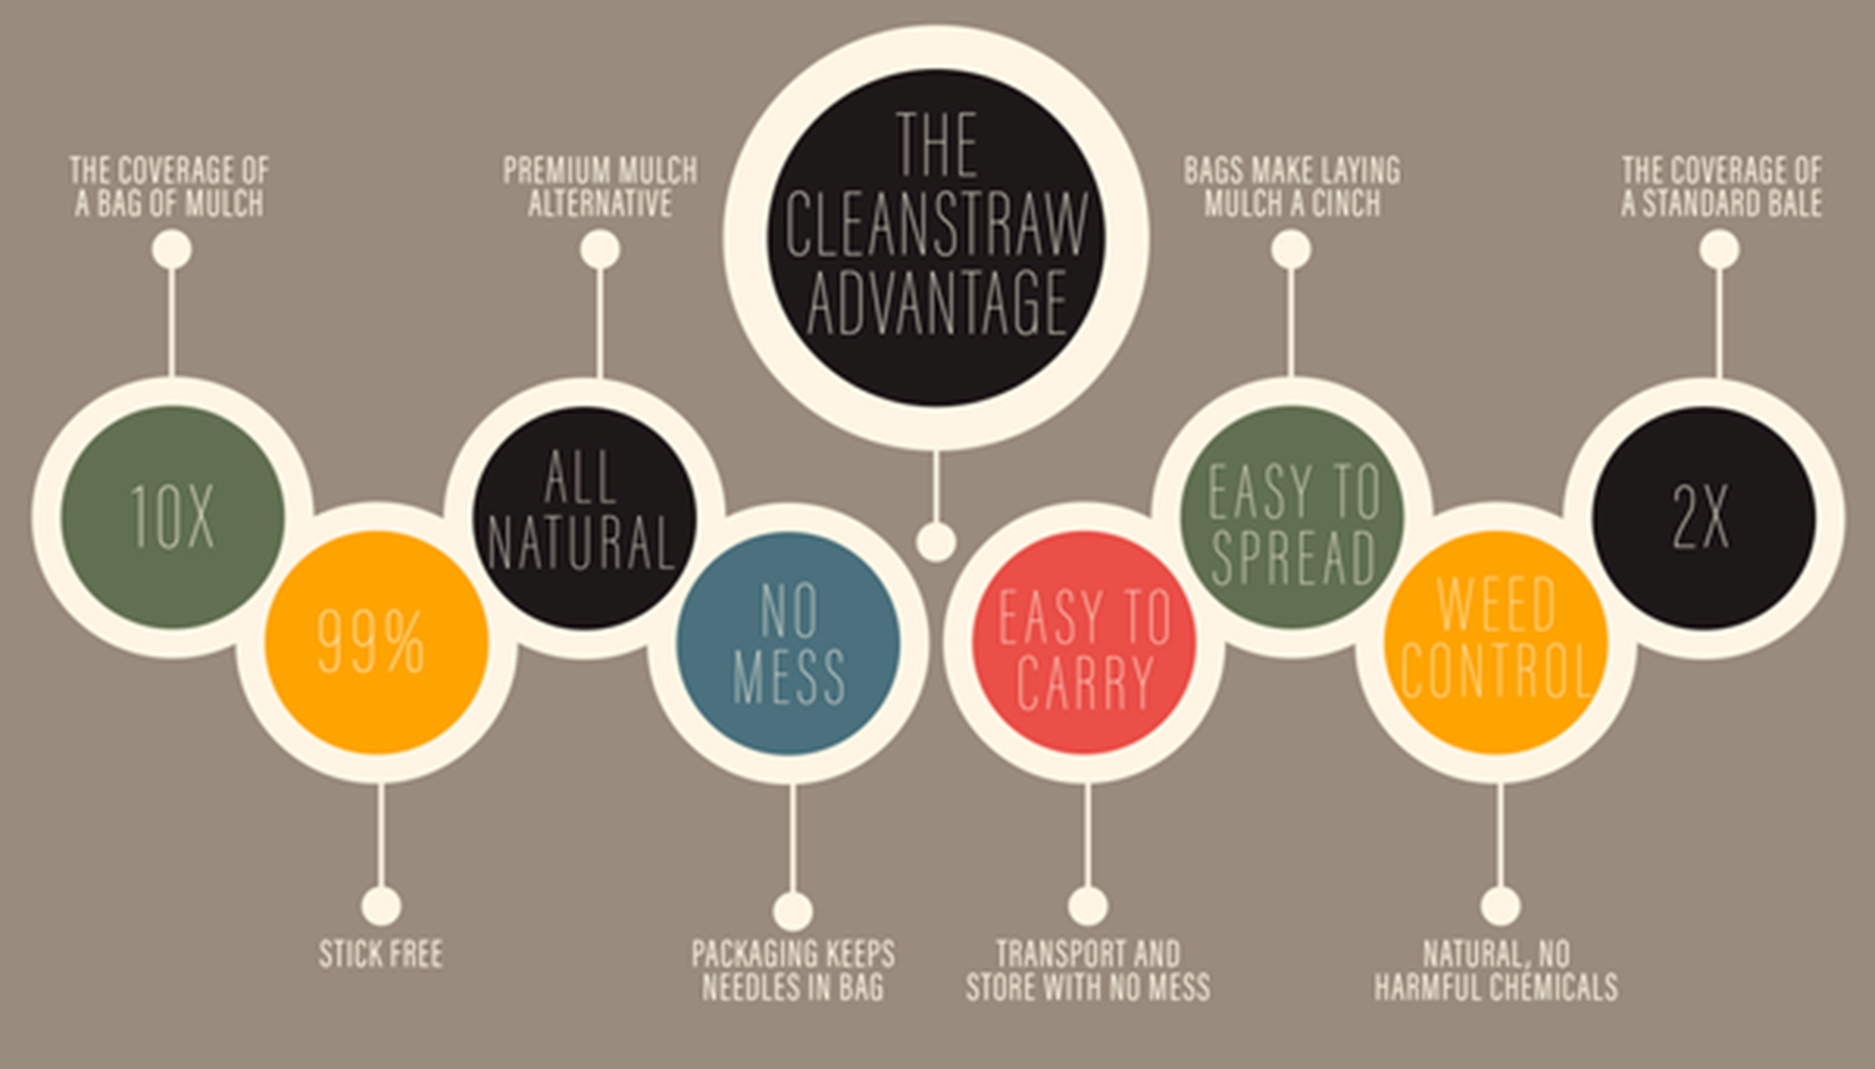
With Texas heat, my first priority is keeping our plants happy without spending hours maintaining the yard. Pine straw mulch ticks all the boxes:
- Heat Resistant: It holds up well under the Texas sun, so I don’t have to worry about it breaking down too quickly.
- Natural Weed Barrier: Pine straw’s dense coverage naturally prevents weeds, meaning fewer herbicides.
- Water-Wise: Pine straw mulch keeps the soil moist, helping us conserve water, which is essential here in Texas.
Step-by-Step: How I Install Pine Straw Mulch
I’ll take you through my approach to pine straw installation. If you’re a busy parent or simply looking for a quick guide, these steps are for you! Plus, check out our video above for a real-life demo of how it’s done.
- Start with a Clean Slate
- Clear any weeds or debris in the area.
- Loosen up the soil a bit, which helps with moisture absorption.
2. Define Your Space
- Use garden borders or edging to define the mulched area. This keeps the mulch tidy and in place.
3. Spread the Pine Straw
- Spread an even layer, about 2-3 inches deep. Avoid piling it around the stems of plants or trees.
4. Tuck it All In
- Use a rake or your hands to tuck the edges along borders. This not only looks great but helps hold the mulch in place.
5. Water It Down
- A quick watering sets everything in place and bonds it to the soil. A win-win for our plants and the Texas sun!
Why Our Non-Profit Project Made a Difference
In the video above, you’ll see how we transformed the landscape at LIFETech with pine straw mulch. It was an incredible experience not just for us but for the whole community. Knowing we contributed to a more beautiful, sustainable environment for a cause we care about was very rewarding.
Why Pine Straw is Perfect for Busy Families and Community Spaces
If you’re a busy parent, pine straw mulch has some huge benefits:
- Affordable & Sustainable: It’s a natural, renewable resource, which makes me feel good about using it.
- Long-Lasting: Pine straw doesn’t need to be replaced as often, which is ideal for families juggling multiple responsibilities.
- Minimal Maintenance: Less work means more time with family—just how I like it.
Bringing Pine Straw Mulch into Your Yard
For fellow parents and gardening enthusiasts, pine straw mulch is such an easy way to create a polished look without hours of upkeep. Whether you’re working on your home garden or helping a local community space, a little pine straw goes a long way. Thanks for letting me share, and happy gardening!